
A rock tumbler can turn dull, rough stones into smooth, glossy gems that look like they came from a jewellery shop. If you have ever picked up an ordinary pebble and wondered what it might look like polished, you are in the right place. In this guide, you will learn how a rock tumbler works, which type to choose, and how to get professional-level results at home.
This is not just another basic overview. We will go deeper. You will discover expert tips, real examples, safety advice, common mistakes, and answers to questions most competitors ignore. Whether you are a beginner buying your first tumbler or a hobbyist looking to improve results, this article gives you everything in simple, clear English.
By the end, you will feel confident enough to start tumbling and create beautiful polished stones, semi-precious gems, and even jewellery-ready pieces.
What Is a Rock Tumbler and How Does It Work?
A rock tumbler is a machine that smooths and polishes rough stones using grit, water, and motion. It copies the natural process that happens in rivers and oceans, but much faster.
How It Works
The process involves:
- Placing rough stones inside a barrel
- Adding tumbling grit (coarse to fine)
- Adding water
- Letting the machine rotate for several days
The stones rub against each other. The grit grinds away sharp edges. Over time, the surface becomes smooth and shiny.
Key Terms to Know
- Rock polishing
- Lapidary equipment
- Abrasive grit
- Rotary tumbler
- Vibratory tumbler
- Gemstone polishing
- Stone finishing process
Most beginners use a rotary tumbler, which spins slowly and is easier to manage. Advanced users often prefer a vibratory tumbler for faster polishing.
Types of Rock Tumblers: Which One Should You Choose?
Choosing the right rock tumbler depends on your goals and experience level.
1. Rotary Rock Tumbler
Best for beginners.
Pros:
- Easy to use
- Great for rough rocks
- Affordable
- Produces rounded stones
Cons:
- Slower process
- Can be noisy
2. Vibratory Rock Tumbler
Best for experienced users.
Pros:
- Faster polishing
- Maintains stone shape
- Excellent shine
Cons:
- More expensive
- Not ideal for very rough stones
Comparison Table
| Feature | Rotary Tumbler | Vibratory Tumbler |
| Speed | Slow | Fast |
| Skill Level | Beginner-friendly | Intermediate/Advanced |
| Final Shape | Rounded | Preserves shape |
| Cost | Lower | Higher |
If you are new to stone tumbling, start with rotary. You can upgrade later.
The Rock Tumbling Process Step by Step
The rock tumbling process usually takes 3–6 weeks. Patience matters.
Stage 1: Coarse Grit
- Removes sharp edges
- Takes 5–7 days
- Uses coarse abrasive grit
Stage 2: Medium Grit
- Smooths scratches
- Takes 5–7 days
Stage 3: Fine Grit
- Prepares stones for polish
- Takes about a week
Stage 4: Polishing
- Uses polishing compound
- Creates high-gloss shine
Optional: Burnishing
- Uses soap and water
- Cleans stones for extra shine
Consistency is key. Skipping a stage leads to dull results.
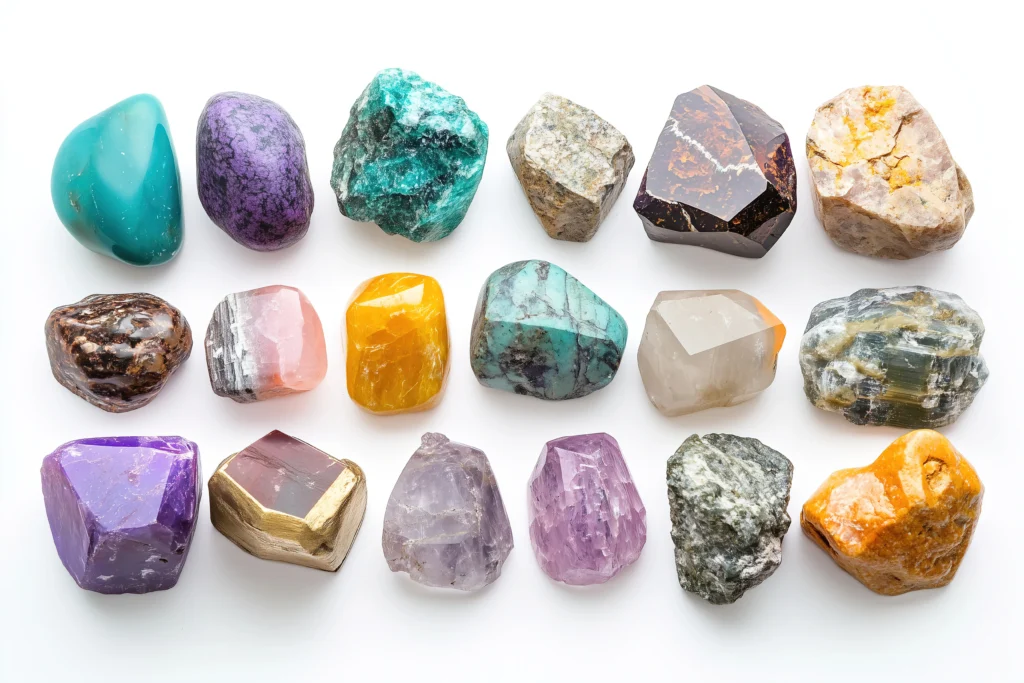
Best Rocks for a Rock Tumbler
Not all rocks polish well. Hardness matters.
Ideal Rocks (Mohs 6–7)
- Agate stones
- Jasper stones
- Quartz crystals
- Amethyst
- Tiger’s eye
Avoid These
- Soft stones
- Cracked rocks
- Mixed hardness stones
When hardness levels differ, softer stones wear down faster. This ruins the batch.
Real Example: From Beach Pebble to Polished Gem
A beginner in Texas tested a home rock tumbler using local creek stones. At first, the results were dull because grit was not cleaned properly between stages.
After adjusting the cleaning process and sorting stones by hardness, the second batch turned out glossy and smooth. The difference was simple: patience and proper cleaning.
Lesson learned:
- Clean barrel thoroughly
- Do not mix different rock types
- Follow each stage fully
Small improvements create big results.
Essential Supplies for Rock Tumbling
Besides the machine, you need:
- Rock tumbler grit kit
- Polishing compound
- Plastic pellets (for cushioning)
- Measuring spoons
- Rubber gloves
- Strainer (not used for food)
Optional but helpful:
- Noise-reducing mat
- Extra barrels
- Storage containers
Good supplies improve final shine dramatically.
Common Mistakes Beginners Make
Avoid these errors:
- Overfilling the barrel
- Underfilling the barrel
- Mixing hard and soft stones
- Reusing dirty grit
- Rushing stages
A common myth is that more grit means better polish. That is false. Correct ratios matter more than quantity.
Safety and Maintenance Tips
Even a small rock polishing machine requires care.
Safety Tips
- Keep away from children
- Do not pour slurry down the sink
- Use gloves when handling grit
- Place machine on stable surface
Maintenance Tips
- Check belt regularly
- Clean barrel after each stage
- Store grit in dry place
Proper maintenance increases machine life by years.
Trends in Rock Tumbling (2026 Update)
Rock tumbling is growing again. Many families use it as a screen-free hobby.
Recent trends include:
- Educational STEM use in schools
- Handmade jewellery businesses
- Eco-friendly hobby communities
- Social media showcasing before-and-after results
Search data shows rising interest in DIY gemstone polishing and home lapidary tools.
It is not just a hobby anymore. Some hobbyists turn it into small side businesses.
Cost Breakdown: Is a Rock Tumbler Worth It?
Here is a simple estimate:
| Item | Average Cost (USD) |
| Entry-level tumbler | $70–$120 |
| Grit kit | $20–$30 |
| Rough rocks | $15–$40 |
| Electricity (monthly) | Minimal |
Compared to buying polished gemstones, tumbling your own can save money over time.
If you sell polished stones, the machine can pay for itself.
FAQs
How long does rock tumbling take?
Usually 3–6 weeks.
Can you reuse grit?
No. Used grit loses effectiveness.
Why are my rocks not shiny?
Most likely poor cleaning between stages.
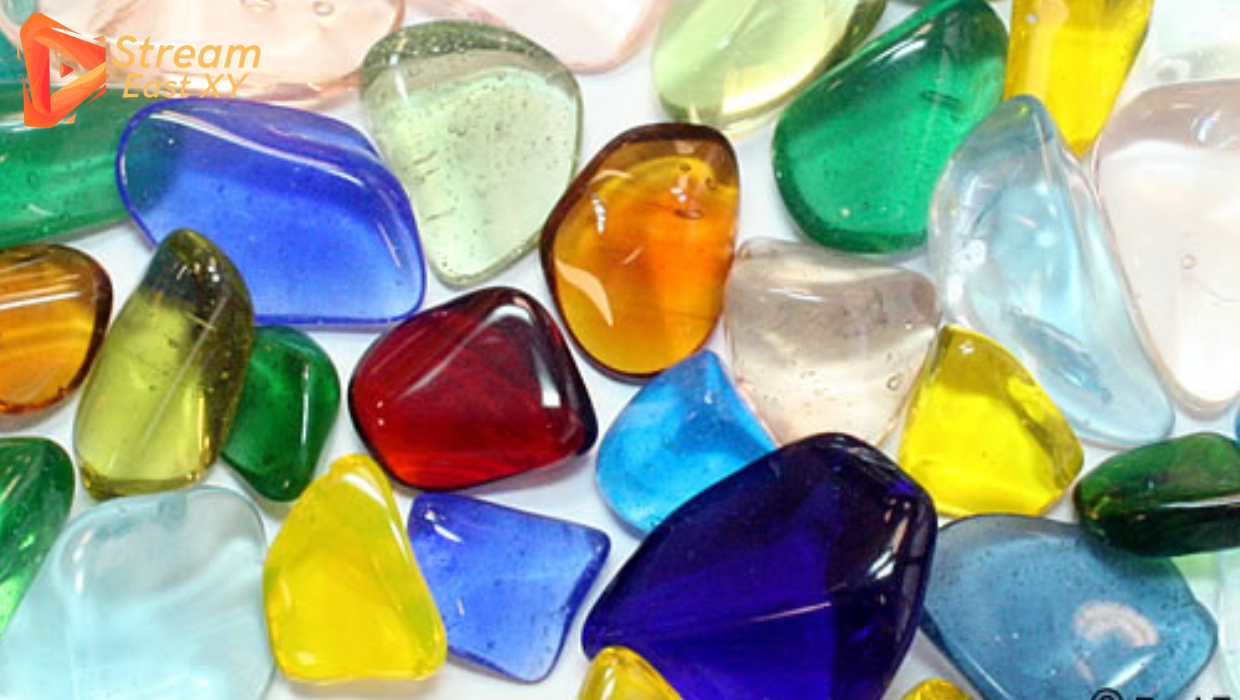
Can you tumble glass?
Yes, but treat separately.
Is a rock tumbler noisy?
Rotary models can be. Use a garage or basement.
Structured data increases chances of appearing in featured snippets.
Conclusion
A rock tumbler is more than a machine. It is a creative tool. It teaches patience. It transforms ordinary stones into something beautiful.
If you are ready to start, choose the right tumbler, follow the steps carefully, and give the process time. The results are worth it.
Have questions or personal experience with tumbling? Share your thoughts and start the conversation.